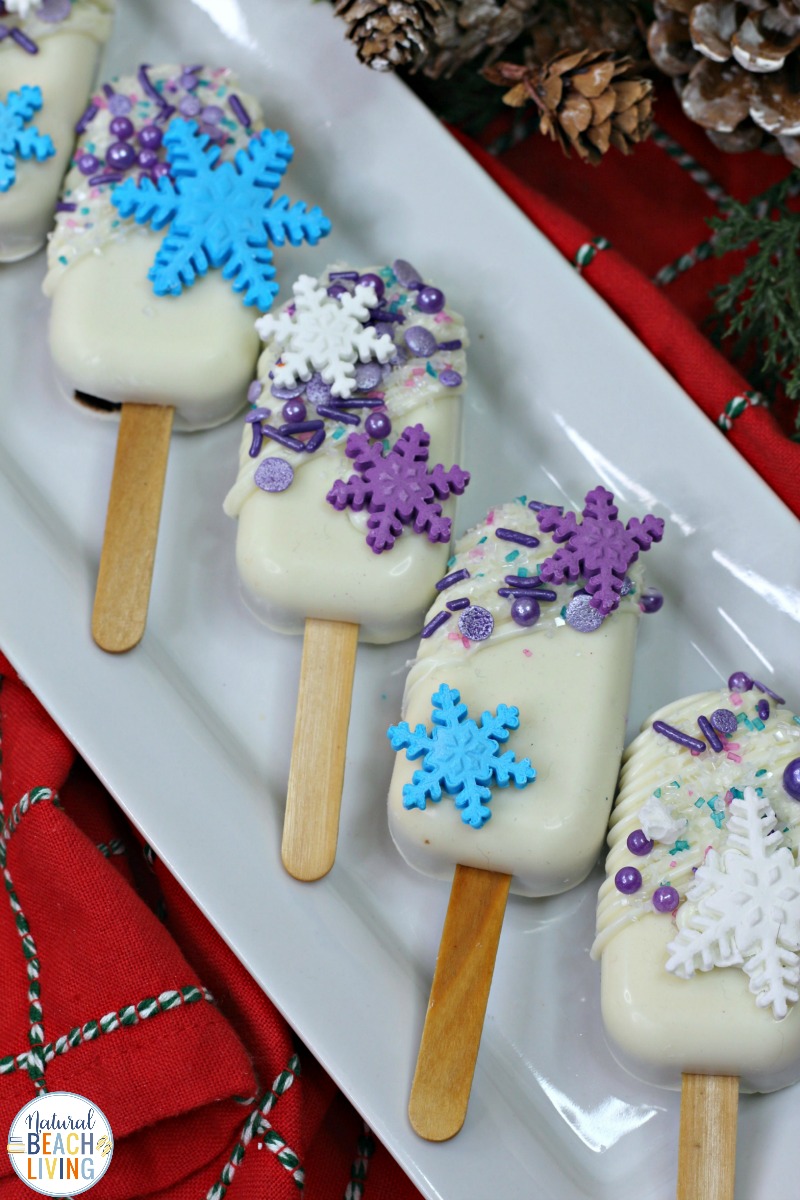
I must confess that I’m in love with cakesicles! This new dessert trend is delicious and totally adorable. These Frozen Cakesicles are tasty and budget friendly too. I promise you won't want to miss this recipe. Whether you are throwing a Frozen themed birthday party or are just looking for a fun dessert these cakesicle pops are perfect for treating yourself or sharing with the family this Winter.
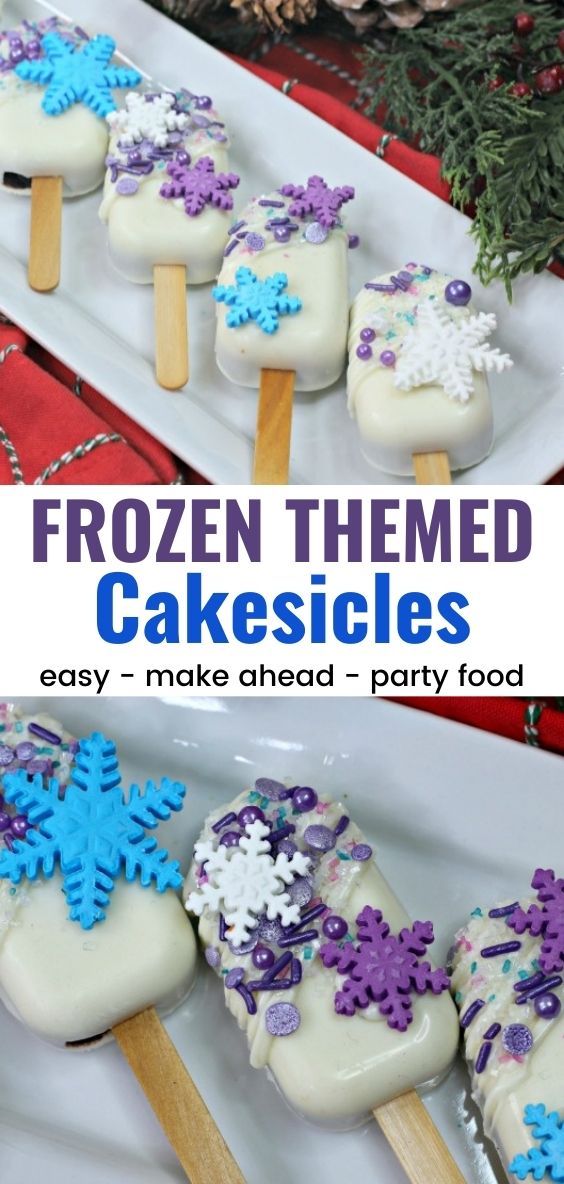
How to Make Frozen Cakesicles
I’ve got tons of cakesicle ideas, but these frozen theme cakesicles are perfect for a special Winter dessert or themed birthday party treat. Are you ready to make your very own frozen cake pops at home?
Keep reading to discover how you can make these delicious frozen themed cakesicles your own.
affiliate links can be found on this blog at no cost to you.

How to Make Frozen themed Cakesicles
What are cakesicles? If cake and popsicles had a baby, it would be the cakesicle and it would be delicious! I know what you’re thinking, what about cake pops? Cake pops are amazing, but they’re small. If you’ve ever finished off a cake pop and wished there was more, these frozen cakesicles are for you. Ready to get started?
The ingredients you will need to make these Frozen Cakesicles is in this list below. However, I have the full ingredients and recipe to print out towards the bottom of the page.
Cakesicles Ingredients & Supplies
- Boxed chocolate cake mix
- whole milk
- butter
- eggs
- 1 container of chocolate frosting
- 2 - 14oz bag of Ghirardelli white chocolate melting wafers
- 1 silicone cake popsicle molds
- 18 popsicle sticks
- Edible Snowflake icing transfers and cupcake sprinkles
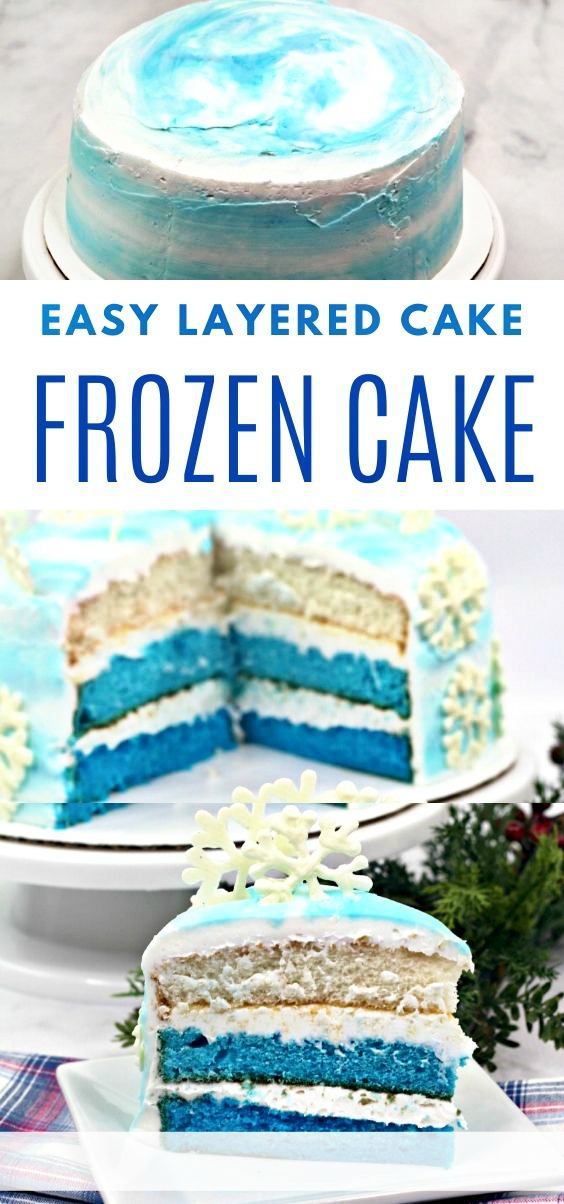
Frozen Cake Ideas
Once you’ve gathered the ingredients and supplies for these frozen cake pops, follow these instructions to make your very own DIY cakesicles.
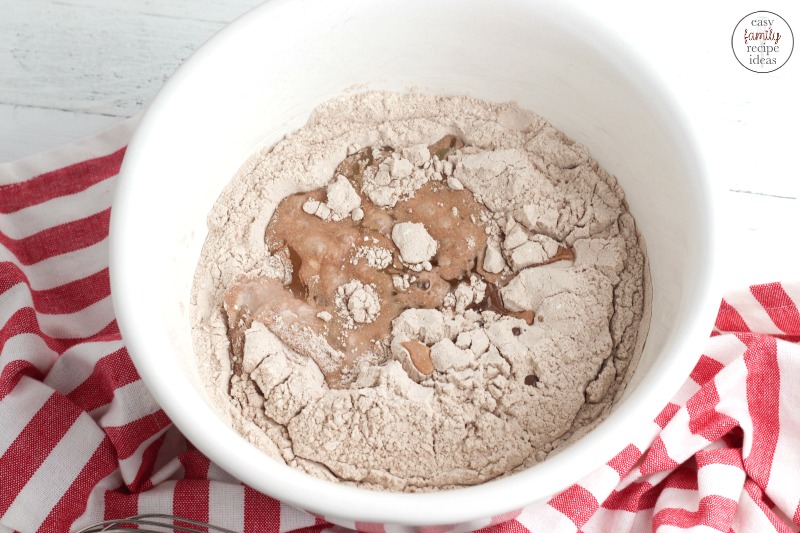
Start by making your favorite boxed chocolate cake mix. This makes it easy and they are ready to go in 20 minutes.
After your cupcakes cool, crumble them up into pieces and add a ½ cup chocolate frosting.
Using either your hands or a rubber spatula, mix the frosting into the crumbs until a dough like mixture forms.
Decorating Frozen Themed Cakesicles
Melt the white chocolate in 30 second increments, mixing after each time to ensure smooth melted white chocolate when the chocolate is ready spoon about 1-2 tablespoon of the melted white chocolate into the cakesicle molds and move the cakesicle mold around to ensure that the sides are coated.
Carefully push in the popsicle stick into the bottom of the cakesicle mold and place the mold into the fridge for about 10 minutes.
Once the white chocolate is set, remove it from the fridge
Take about 1-2 tablespoon of the cake mixture and carefully press into the
mold, make sure the side of the chocolate does not break
Remelt the white chocolate used to coat the cakesicle mold and then spoon on about 1-2 tablespoon of the white chocolate onto the top of the cake mixture into the mold.
Place the mold back into the fridge for another 30 minutes
Carefully remove the cakesicle from the mold and place them onto the wire rack to mold and dry completely.
Repeat steps with the remaining cake dough and with the remaining melted chocolate.
Cakesicles Ideas
Decorating the Cakesicle
Cut the tip off the piping bag and Drizzle lines of white chocolate onto the cakesicles
Sprinkle some of the frozen sprinkles onto the white chocolate lines
Pipe some chocolate onto the bottom of the snowflakes and place them
randomly onto the cakesicles.
Allow the chocolate to set before enjoying!
Frozen Cake Pops
Making Cakesicles Ahead of Time
If you’re planning to enjoy these frozen cakesicles at a frozen or winter themed party, you’ll want to make them before party day. How far in advance can you make cakesicles? Fresh cake will usually keep for 7-10 days. You should count from the day you make the cake.
For this recipe, the cake is easier to manipulate if it’s a day old. Therefore, I like to make my cake the day before I begin making frozen cakesicles. After baking your cake, cover and store it at room temperature.
Completed frozen cake pops are fine on the counter for 2 days, but they’ll keep fresh in the fridge for up to 2 weeks.
Beware: cakesicles kept on the counter for too long will develop mold. The mold will remain hidden until you bite into your cakesicles, so you’ll definitely want to store your cakesicles in the fridge if you aren’t planning to eat them quickly. If you’re like me, they’re all gone before they make it to the fridge!
Can you Freeze Cakesicles?
Freezing Cakesicles
Need to keep your cakesicles fresh longer? Cakesicles can be stored in the freezer for up to 6 weeks! That means you can make these cakesicles in large batches and store them for a quick dessert whenever you need a sweet treat.
Frozen Themed Birthday
Frozen cakesicles are perfect for parties! These fancy treats are easier to eat than traditional cake or cupcakes, so they’re perfect for birthday parties with children. Your little princess will love these frozen cake pops decorated to match her princess party theme this year.
A cake pop birthday party is definitely less messy, but it’s also a chance to take your theme one step further. Still, want to serve a traditional birthday cake?
Wrap these frozen cakesicles in cellophane and send them home with your guests as a party favor.
Elsa Frozen Cupcakes

Best Frozen Recipes
Once you make these Frozen themed cake pops, your kids will love these Disney recipe ideas too.
- Disney Frozen Themed Chocolate Bark
- Frozen themed Cake Pops
- Frozen themed Hot Chocolate Recipe
- Frozen themed Milkshake
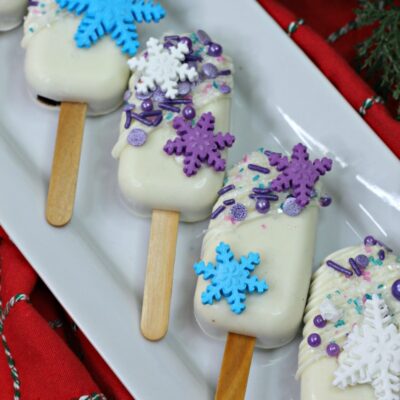
SAVE THESE DELICIOUS SNOWFLAKE WINTER THEMED CAKESICLES FOR YOUR NEXT PARTY

Cakesicles Supplies:
Please remember to SHARE on Facebook and PIN IT!
FOLLOW ME ON PINTEREST BY CLICKING HERE
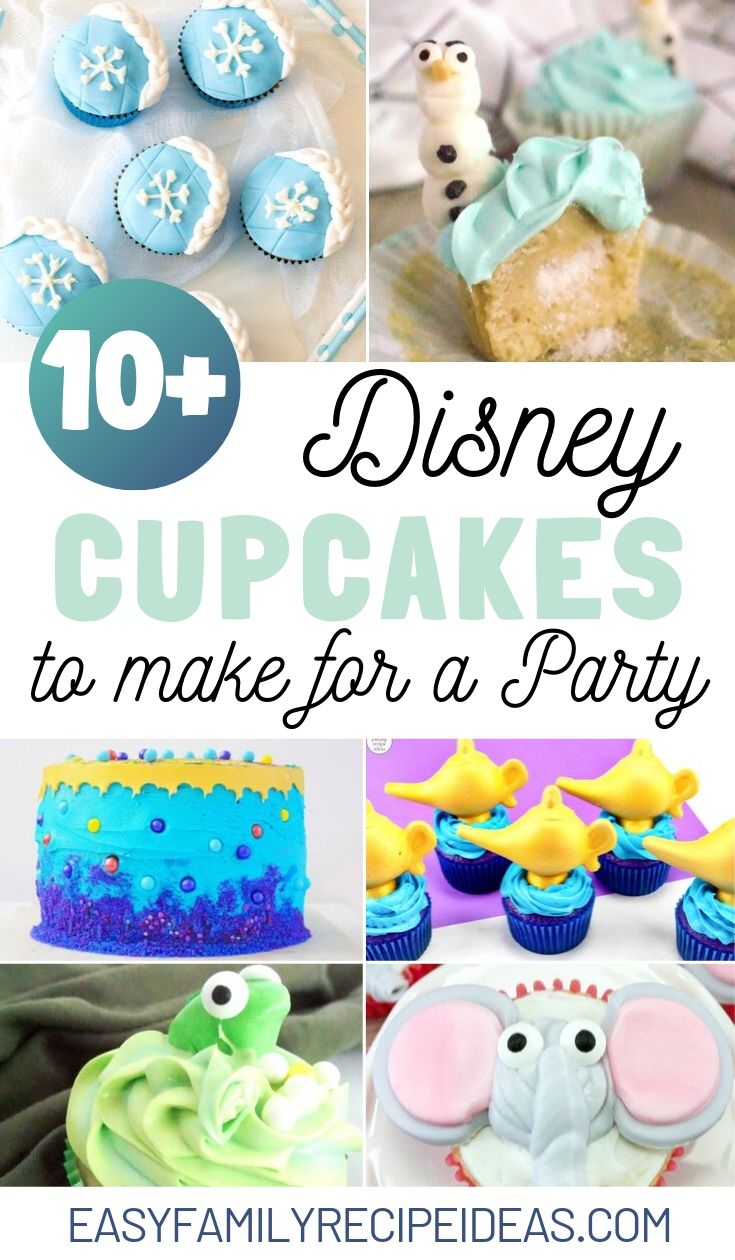
Easy Disney Recipes
Studies have shown that if you like this, you will also love the following recipes. I have pulled them together for you right here!
The Best Disney Cupcakes – Disney Cupcake Ideas Everyone Loves
Frozen Cakesicles Recipe
Frozen Cakesicles
Ingredients
- 1 box of chocolate cake mix
- 1 ¼ C of whole milk
- ½ C unsalted sweet cream butter softened
- 3 large eggs
- 1 16 oz container of chocolate frosting
- 2 - 14 oz bag of Ghirardelli white chocolate melting wafers
- 1 silicone cake popsicle mold
- 1 cookie sheet with a wire rack (optional)
- 18 popsicle sticks
- 1 disposable piping bag or plastic baggie
- Edible Snowflake icing transfers
- Cupcake Sprinkles
Instructions
Cupcake Directions
- Preheat the oven to 350 degrees and line a cupcake pan with liners
- Using a large bowl, beat together the cake mix, milk, butter, and eggs until combined and smooth
- Fill the cupcake liners ¾ way full and then Bake in the oven for 21 minutes (according to the boxed cake mix)
- Allow the cupcakes to cool completely
- Once the cupcakes have cooled, remove them from their cupcake liners and crumble them into a large mixing bowl
Making the cakesicle cake dough directions
- Once all the cupcakes have been made break them up into a moist crumbled up texture.
- scoop in about ¼ - ½ C of the chocolate frosting
- Using either your hands or a rubber spatula, mix the frosting into the crumbs until a dough like mixture forms.
Decorating directions
- Using the remaining white chocolate in the wafer bags, pour into a large bowl and using a microwave, melt the white chocolate in 30 second increments, mixing after each time to ensure smooth melted white chocolate
- Once the white chocolate is melted, spoon about 1-2 tablespoon of the melted white chocolate into the cakesicle molds
- Move the cakesicle mold around to ensure that the sides are coated in the white chocolate
- Carefully push in the popsicle stick into the bottom of the cakesicle mold
- Place the mold into the fridge for about 10 minutes
- Once the white chocolate is set, remove it from the fridge
- Take about 1-2 tablespoon of the cake mixture and carefully press into the mold, make sure the side of the chocolate does not break
- Remelt the white chocolate used to coat the cakesicle mold and then spoon on about 1-2 tablespoon of the white chocolate onto the top of the cake mixture into the mold.
- Place the mold back into the fridge for another 30 minutes
- Carefully remove the cakesicle from the mold and place them onto the wire rack
- Repeat steps with the remaining cake dough and with the remaining melted chocolate, spoon it into a piping bag
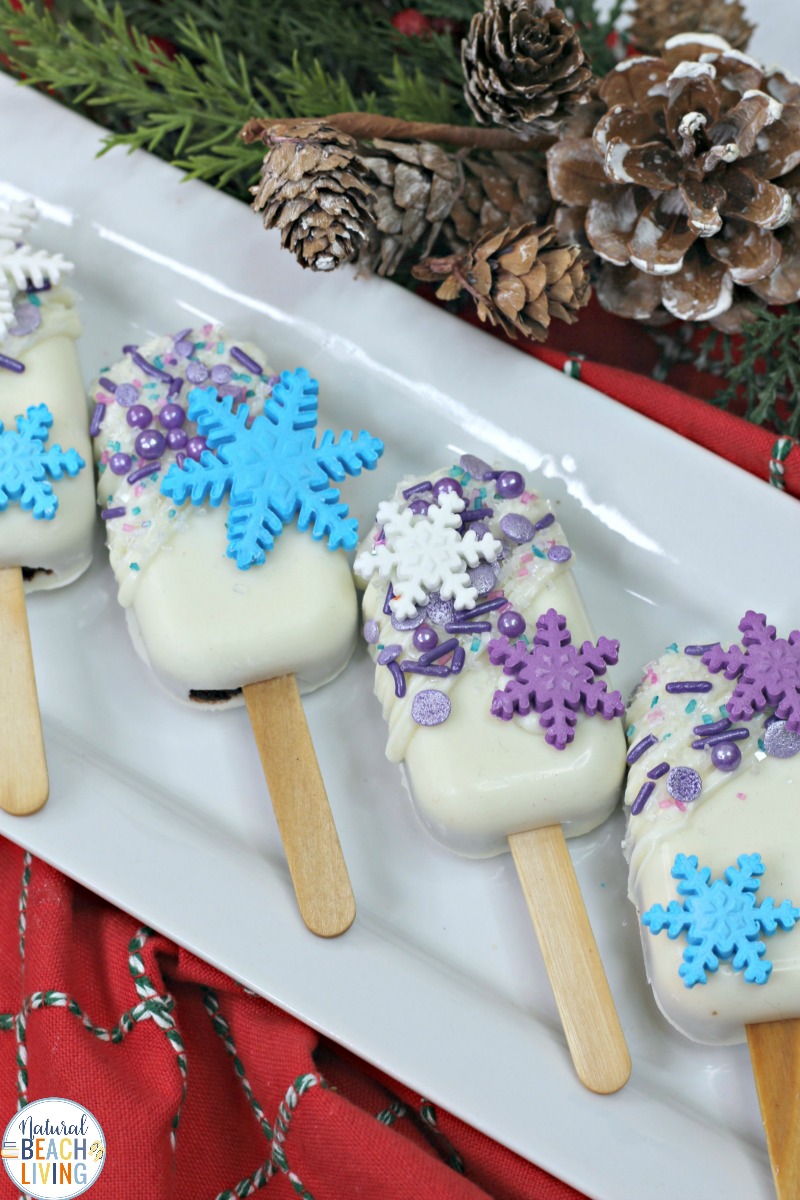
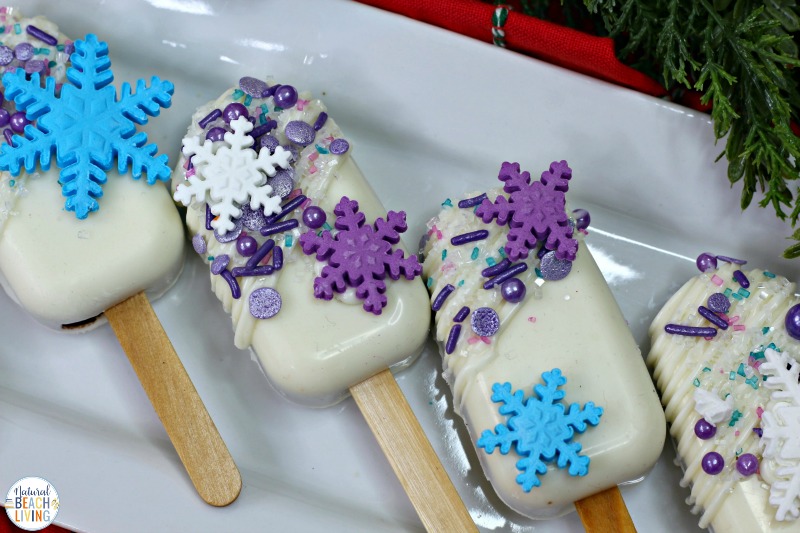
Decorating the cakesicle
- Cut the tip off the piping bag and Drizzle lines of white chocolate onto the cakesicles
- Sprinkle some of the frozen sprinkles onto the white chocolate lines
- Pipe some chocolate onto the bottom of the snowflakes and place them randomly onto the cakesicles
- Allow the chocolate to set before enjoying!